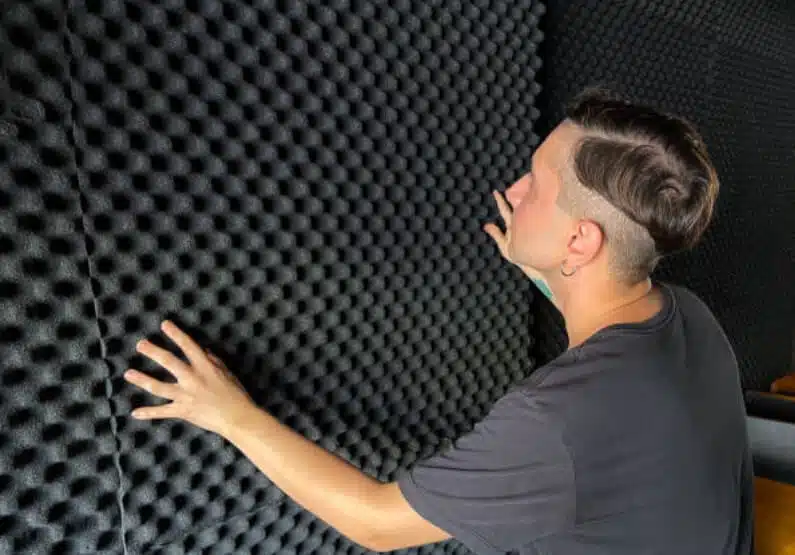
As a music producer and home studio owner, I understand the importance of creating a quiet and controlled environment for recording and mixing music.
Soundproofing is a crucial aspect of achieving professional-level results without breaking the bank.
In this article, I will share my perspective on the topic of cheap soundproofing materials for your home studio.
This will guide you in selecting the right materials and techniques to soundproof your studio space effectively.
Let’s get into it.
Basics of Soundproofing Materials For Your Home Studio
When you get into a soundproofing project, it’s important to understand that it’s not about completely eliminating sound. It’s rather reducing it to a level that’s tolerable.
Soundproofing materials work by absorbing or blocking sound waves, preventing them from traveling through walls, floors, and ceilings.
There are two main types of sound waves: airborne and impact.
Airborne sound waves are created by voices, music, and other sounds in the air. Impact sound waves are created by physical impacts, such as footsteps or slamming doors.
To effectively soundproof a room, it’s important to address both types of sound waves.
This can be done by using a combination of materials, such as soundproof insulation foam, mass-loaded vinyl, and floor underlayments.
It’s also important to consider the sound transmission class (STC) rating of materials. The higher the STC rating, the better the material is at blocking sound.
For example, a standard 2×4 wall with drywall on both sides has an STC rating of around 35. On the other hand, a wall with soundproof insulation and mass-loaded vinyl can have an STC rating of 60 or higher.
In addition to materials, it’s important to address any gaps or cracks in walls, floors, and ceilings. Even the smallest gaps can allow sound to travel through.
This can be done by using acoustic sealant or weatherstripping. With that said, let’s get into the materials used in soundproofing without breaking the bank.
Layering Drywall
To soundproof your home studio, layering drywall is an excellent starting point. Adding an extra layer of drywall to your studio walls can significantly reduce sound transmission.

The air gap between the layers acts as a sound buffer, preventing sound waves from easily passing through.
This technique is especially effective in minimizing low-frequency vibrations.
My personal experience with layering drywall has been remarkable. The difference in sound isolation was noticeable, even with just a single additional layer.
To maximize the benefits, consider using a high-density drywall or a sound-dampening compound between the layers.
Sound Deadening Paint
Sound-deadening paint is another cost-effective solution for soundproofing your home studio. This specialized paint contains mass-loaded vinyl or ceramic microspheres, which help absorb and block sound.

Applying sound-deadening paint to your studio walls can enhance the overall soundproofing performance.
I decided to try sound-deadening paint in my studio, and the results were impressive.
Not only did it add an extra layer of sound insulation, but it also provided a visually appealing finish.
Remember to apply multiple coats for optimal results and follow the manufacturer’s instructions for the best application technique.
Soundproof Curtains
If you’re looking for a versatile and portable soundproofing solution, soundproof curtains are worth considering. These curtains are made with dense materials and are designed to absorb and block sound waves.
They are particularly useful for reducing echo and high-frequency noise. Many producers also prefer soundproofing blankets for larger home studios.
In my friend’s home studio, we installed soundproof curtains around the windows and doors.
They added a touch of elegance to the space but also helped in reducing external noise.
Soundproof curtains are an affordable option that allows you to easily adjust the level of soundproofing according to your needs.
Vertical Hanging Baffles
Vertical hanging baffles are an effective way to control sound reflections and echoes in your studio.

These baffles are usually made of acoustic foam or other sound-absorbing materials and are hung vertically from the ceiling. They help break up sound waves and prevent them from bouncing around the room.
I incorporated vertical hanging baffles in my studio to address the issue of unwanted reflections.
The improvement made a huge difference but I had trouble finding the right hanging baffles. Once I found the right ones, they provided a noticeable reduction in echo and improved clarity in recordings.
You can experiment with the placement and density of the baffles to find the best configuration for your studio space.
Cavity Insulation – Foam and Fiber
To further enhance the soundproofing of your home studio, consider insulating the cavities within the walls with foam or fiber insulation.
Cavity insulation acts as a barrier, minimizing sound transmission through the walls.
It helps trap sound waves and prevents them from leaking into or out of the studio.
When I added cavity insulation to my studio walls, the overall soundproofing quality significantly improved.
It created a more controlled and isolated environment, allowing me to focus on capturing the best audio without any distractions.
Ensure you choose the appropriate insulation material and follow proper installation techniques.
Triple-paned Windows
Windows can be a significant source of sound leakage in your home studio. Upgrading to triple-paned windows can make a substantial difference in reducing external noise infiltration.
The multiple layers of glass and insulating gas between them provide excellent sound insulation.
After replacing the windows in our studio with triple-paned ones, the impact was undeniable.
The outside noise was significantly reduced, resulting in a quieter and more conducive recording environment.
While this may be a slightly more expensive option, the long-term benefits are worth the investment.
Mass Loaded Vinyl
Mass-loaded vinyl (MLV) is a versatile soundproofing material that can be used in various applications. It is a dense vinyl sheet with added mass, designed to block sound transmission.
MLV is particularly effective in reducing airborne noise, such as voices or music.
We installed MLV for my friend on the walls and floor to create an additional sound barrier.
The results were impressive.
It significantly reduced sound leakage and improved the overall acoustic performance.
Remember to seal the seams and edges properly to maintain the integrity of the soundproofing barrier.
Green Glue
Green Glue is a unique damping compound that converts sound energy into small amounts of heat.
Green Glue is an excellent option for retrofitting existing structures or improving the soundproofing of new constructions.
In my studio renovation project, I used Green Glue to enhance the soundproofing effectiveness of the walls.
The compound effectively minimized sound vibrations and improved overall sound isolation.
Make sure to follow the manufacturer’s instructions for the proper application and enjoy the benefits of this affordable soundproofing solution.
FAQs
Can I achieve professional-level soundproofing without spending a fortune?
Yes! With careful planning and the use of cost-effective soundproofing materials, you can achieve excellent results without breaking the bank.
How do I determine the right amount of soundproofing for my home studio?
Assess the noise sources around your studio and identify the areas that need improvement. Consider the type of music you produce and the level of isolation required for optimal recordings.
Is it necessary to hire a professional to install soundproofing materials?
While professional assistance can be beneficial, many soundproofing solutions can be implemented as DIY projects.
Can soundproofing eliminate all external noise?
No, while soundproofing can significantly reduce external noise, it may not completely eliminate it.
How often should I reassess and update my soundproofing materials?
It’s recommended to periodically check the effectiveness of your soundproofing materials and make updates as needed. Over time, wear and tear or changes in the studio layout may require adjustments to maintain optimal soundproofing performance.

Mike is a skilled musician, guitar technician, and music producer with a passion for audio and gear. He excels in teaching guitar, editing podcasts/videos, and creating captivating soundscapes using cutting-edge hardware, software, and plugins. Mike’s talent and commitment make him highly sought-after in the industry, inspiring fellow musicians worldwide.


